Different Methods to Move Files from One Teams Channel to Another
Among all the Microsoft 365 components, Teams is the most widely used service in organizations. Moving files between Microsoft Teams channels can significantly improve collaboration, but many admins are still unaware to do so. So, let’s explore the distinct methods to address this query. But first, do you know the reasons for copying files between Teams channels?
Why Do Users Copy Files From One Teams Channel to Another – Scenario!
Microsoft Teams is not only used to improve collaboration but also to store and share the required files to the destination. Let’s take an instance to understand the need to copy and move files to another channel.
“In an organization, there is one hiring department for managing tasks related to recruitment such as interviews, onboarding, documents, and more. However, during the process of recruitment organization needs to spend a particular amount.
Finance is the sole department of the organization that handles all the finances of the organization. So, now the recruitment department needs to share the data with the finance department so that all the expenditures are managed by them.”
Now, you get an idea about the need to transfer files between channels. So, let’s move forward and explore the methods to proceed.
What are the Challenges in Microsoft Teams File Migration?
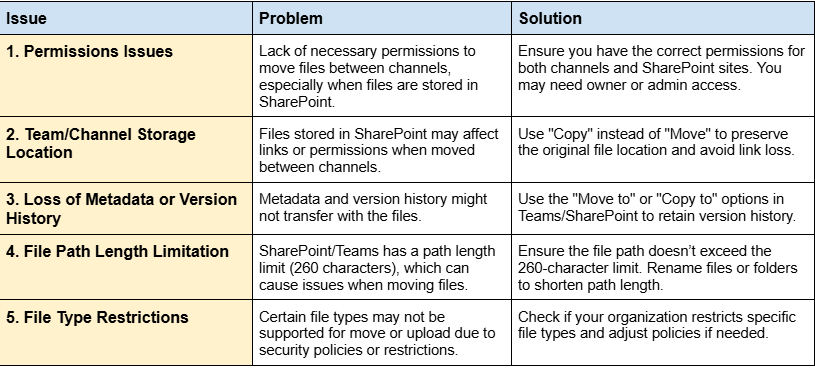
Top 2 Solutions to Move Files from One Teams Channel to Another!
There are distinct ways to move and copy files between channels. One is performed with the help of Teams and the other one is an automated utility which is better than any other method. Let’s find each one in detail.
Method 1. By using the Teams Interface
To transfer the files between Teams channel using the Teams. You need to have access to the storage of the channel. Only some of the users have access to the Teams channels. After that execute the below steps:-
- Step 1. Go to the Teams web app (teams.microsoft.com).
- Step 2. Open the Files tab of the source channel and select the files for moving.
- Step 3. Click Download to save the files locally.
- Step 4. Then, go to the destination channel, and click Upload.
That’s it! However, for every file you have to do this which becomes time-consuming, especially with a large volume of data. Not only this there are several limitations associated with this:
- Does not retain file version history or metadata.
- No bulk file movement option is available.
- Limited file size upload/download capabilities for large files.
- No direct file management within the Teams interface.
- Requires downloading and re-uploading, creating duplicates.
- May experience slow upload speeds with larger files.
Don’t worry, there is one automated tool that can migrate Microsoft Teams to a new Tenant hassle-free and quickly. Let’s understand the same.
Method 2. Dynamic Solution to Move Microsoft Teams Data to New Teams

Proof – Reddit
Office 365 administrators choose the Microsoft Teams Migration Tool, because of its exceptional advanced features. This tool can efficiently move files, groups, channels, and members as well from public, private, and organization. Additionally, throughout the process, it maintains data integrity and security, which is what the manual solution lacks.
Moreover, you have the advantage of selectively migrating data, whether it is newly arrived or old via Date Filter and Delta migration options offered by this.
So, don’t waste time on complicated techniques, just download this for free today, and initiate the task hassle-free.
When we migrate Office 365 users to another tenant or Teams data to another tenant, it is essential to have technical support. Guess what? With this solution, you have the advantage of 24/7 support, to ensure an effortless migration.
Steps to Transfer Files and Folders to Another Teams
Step 1. Download and Run the tool. Finalize Office 365 as the both Source and Destination platform t0 move files from one Teams channel to another.
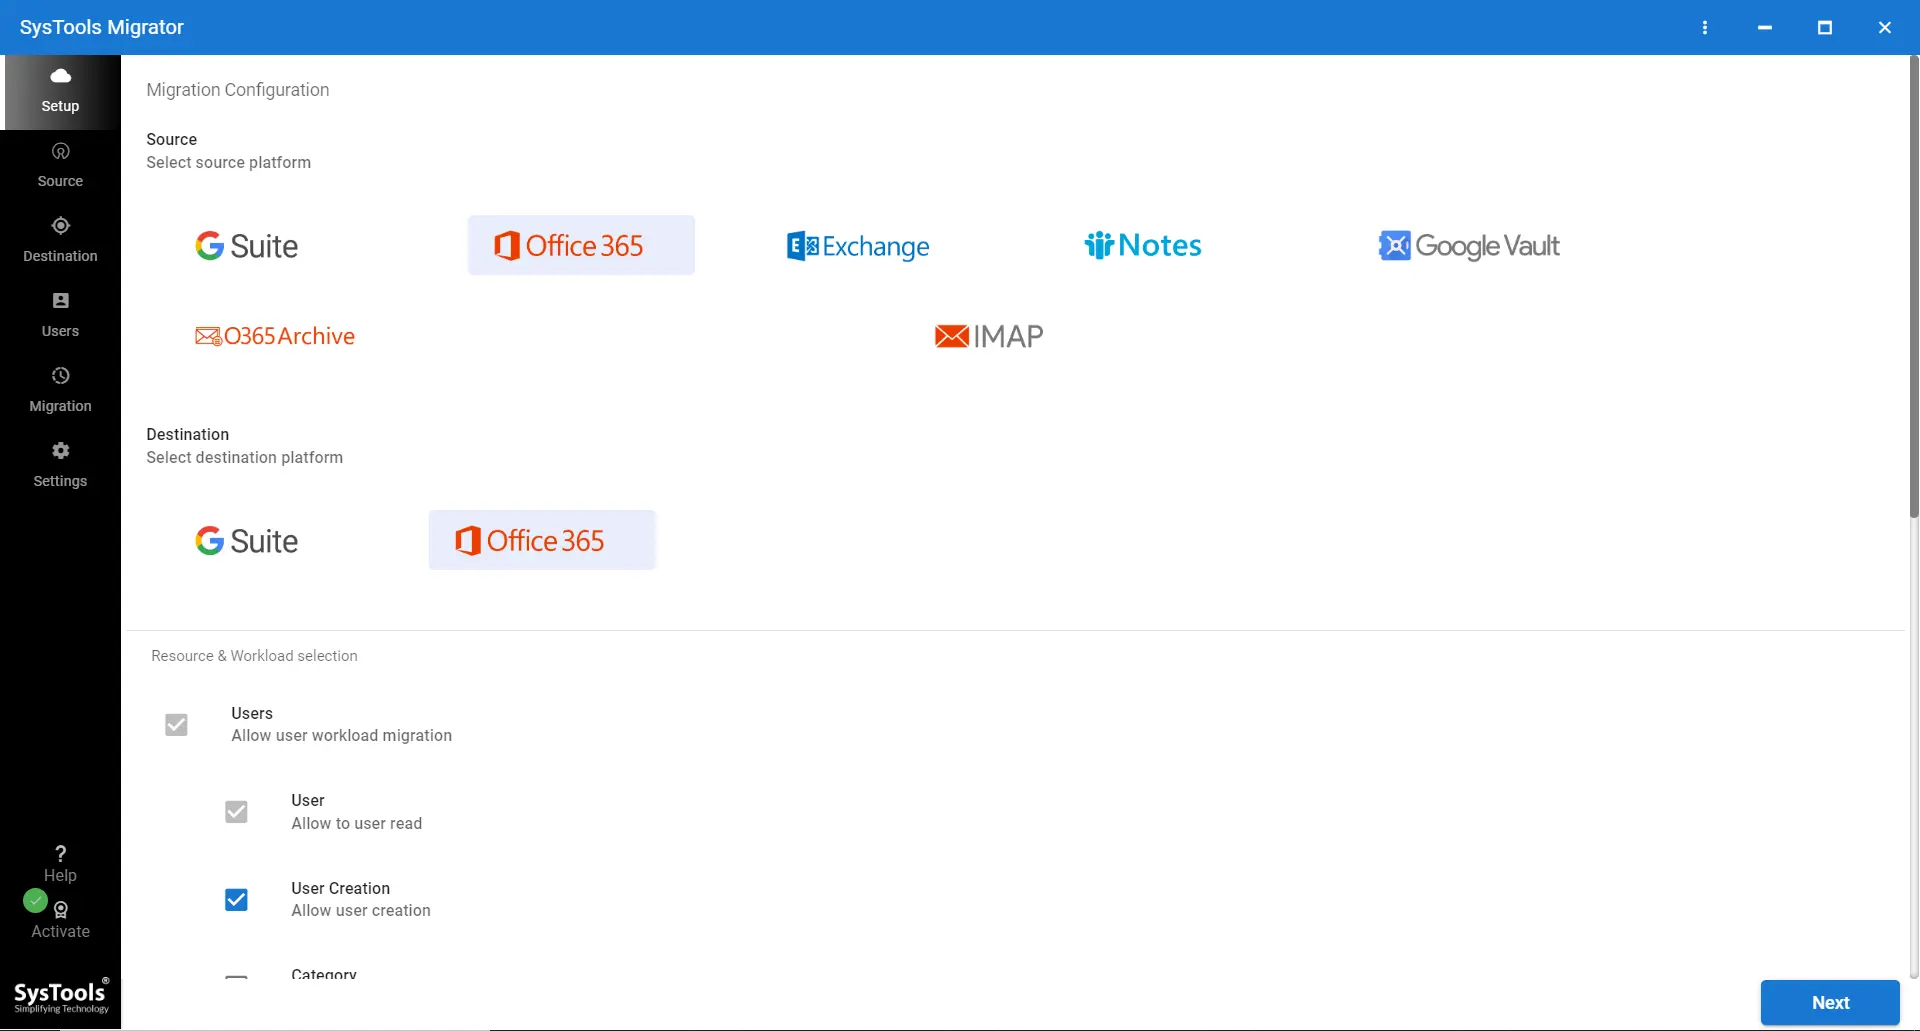
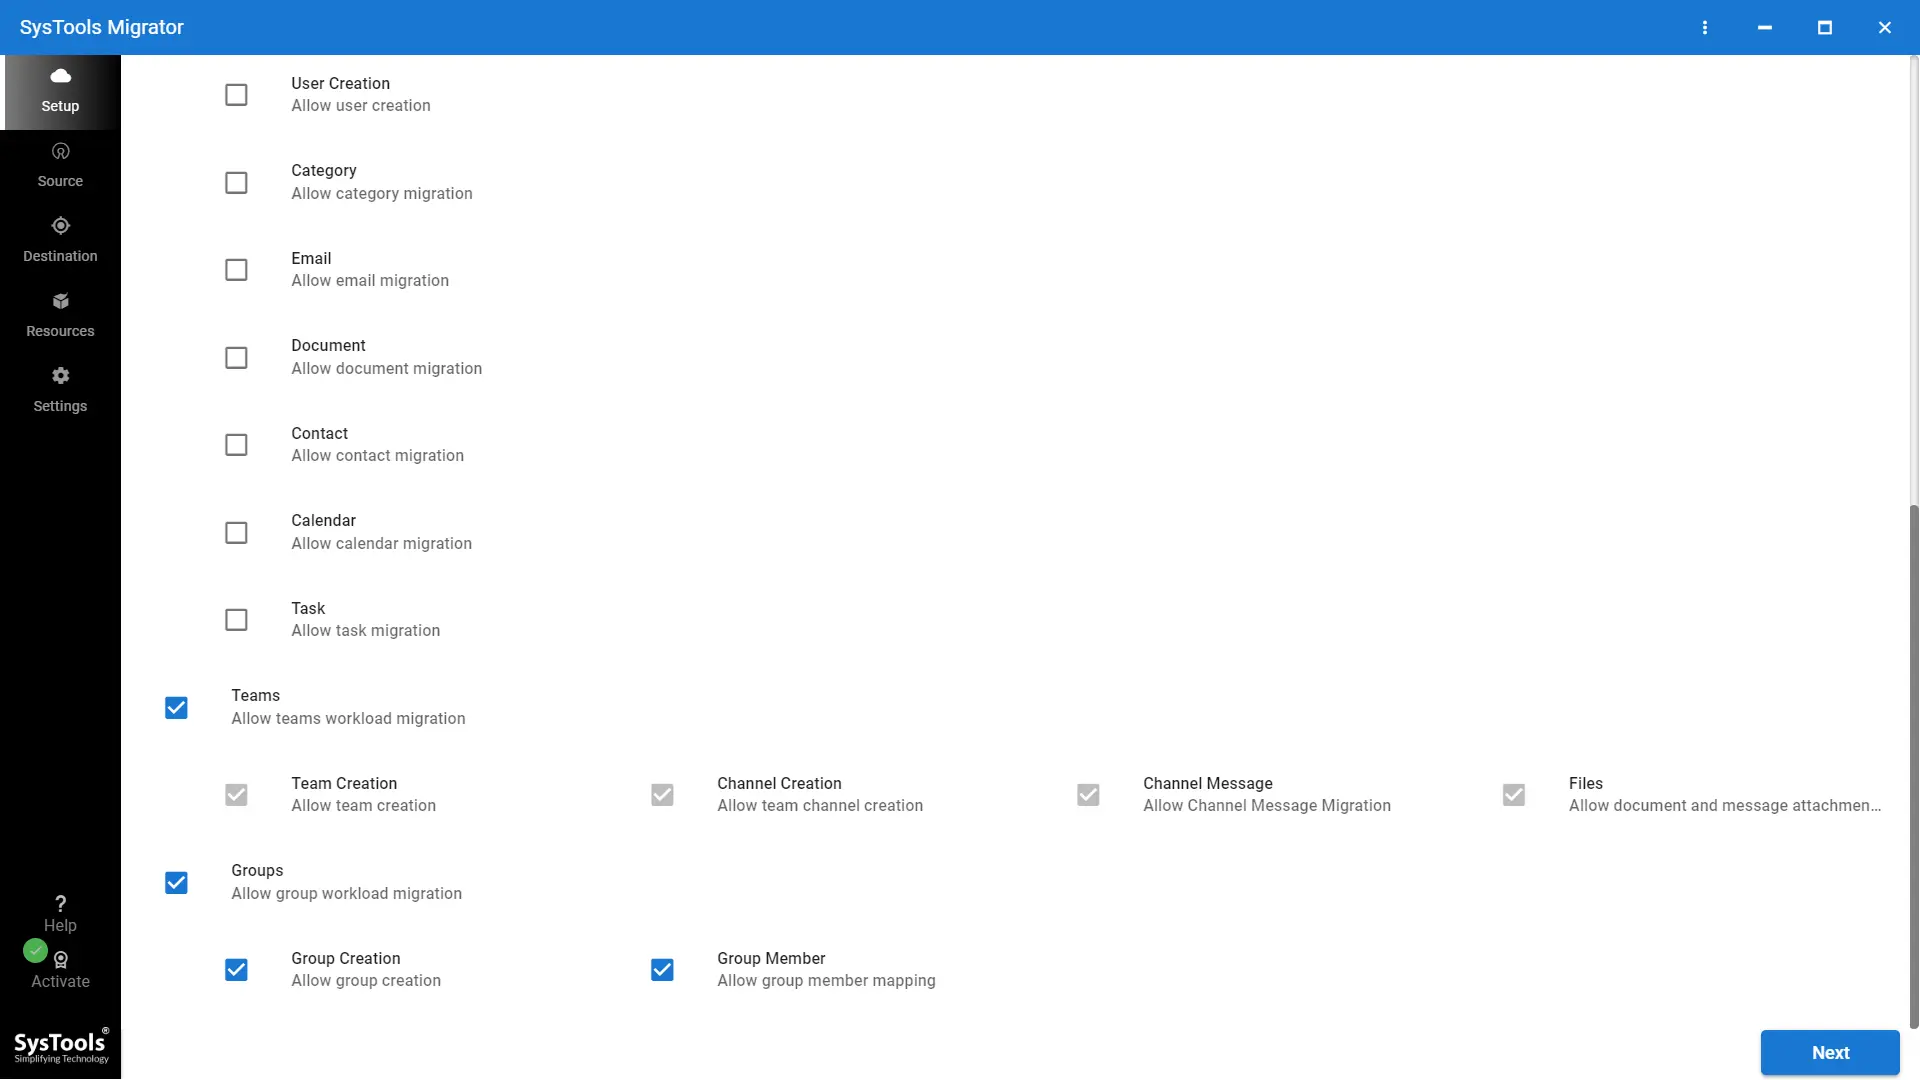
Step 2. Under the workload section, choose the option of Teams and then Next.
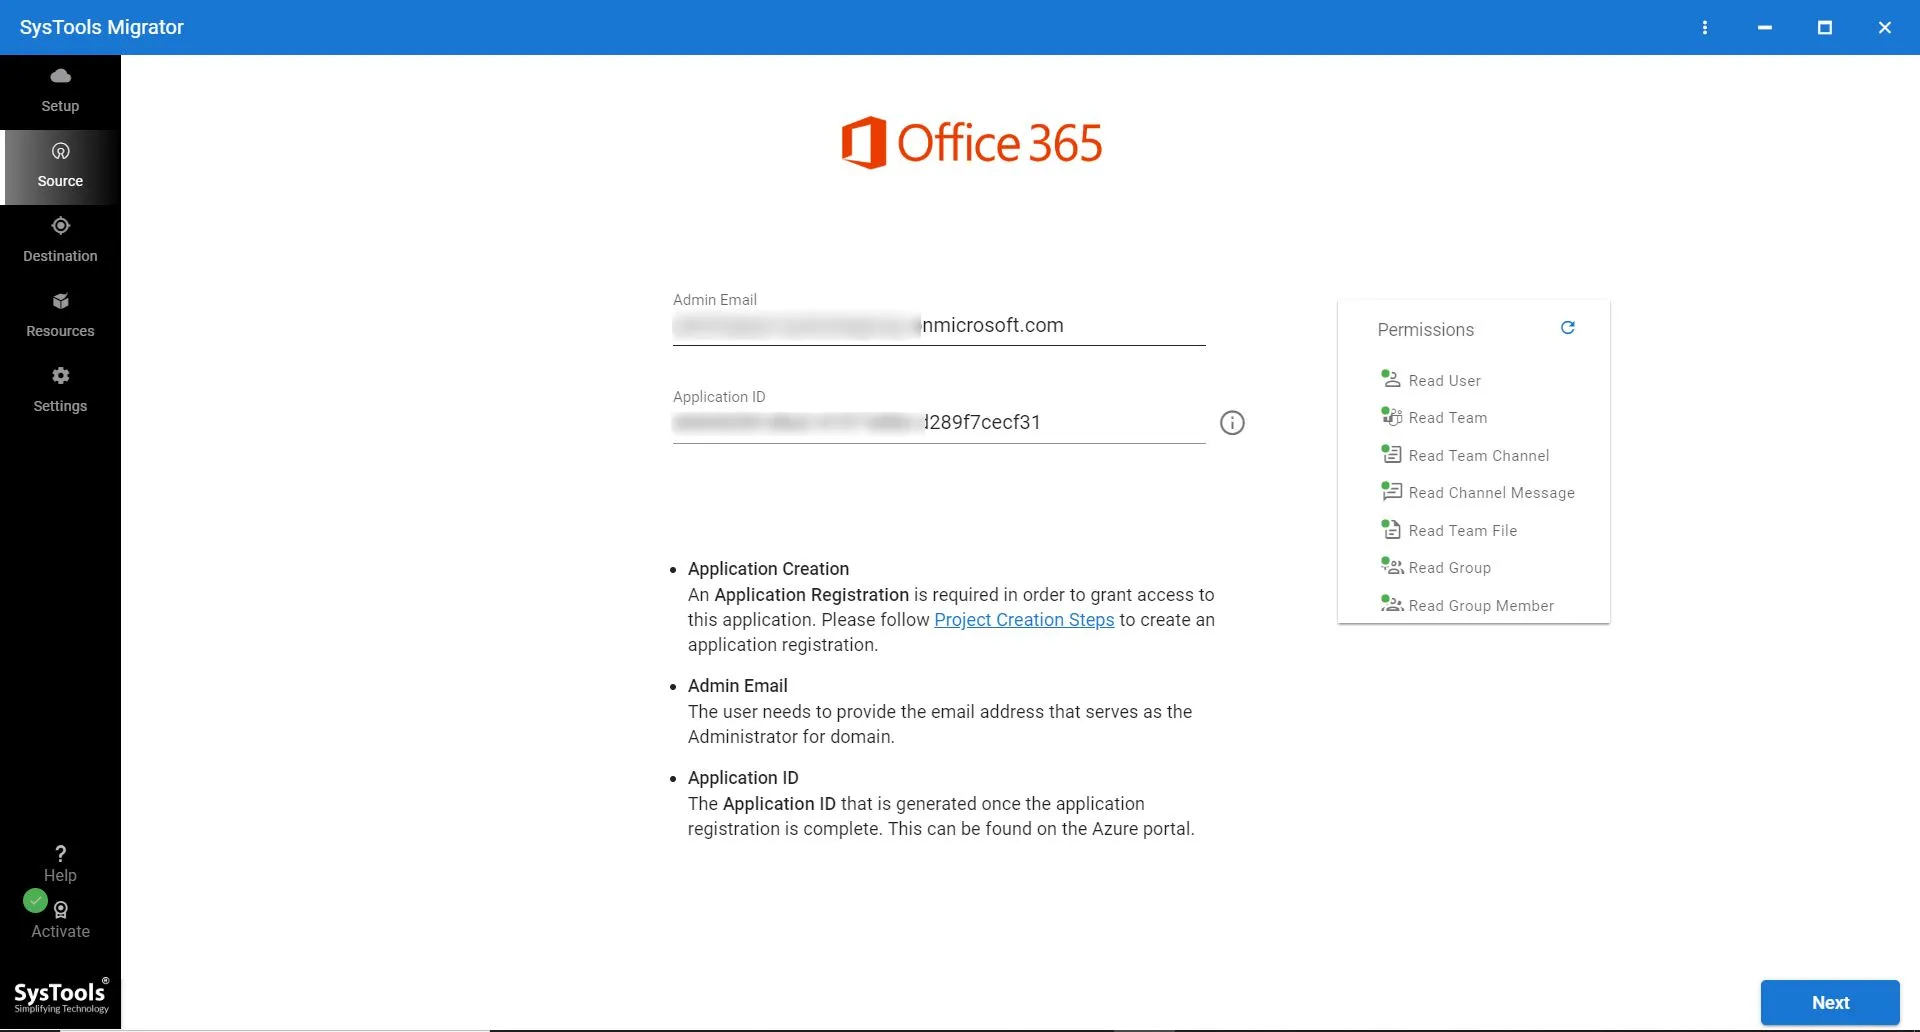
Step 3. Complete the required credentials for the Source & destination Office 365 account such as Admin Email and so on. After the validation of the entered credentials move to Next.
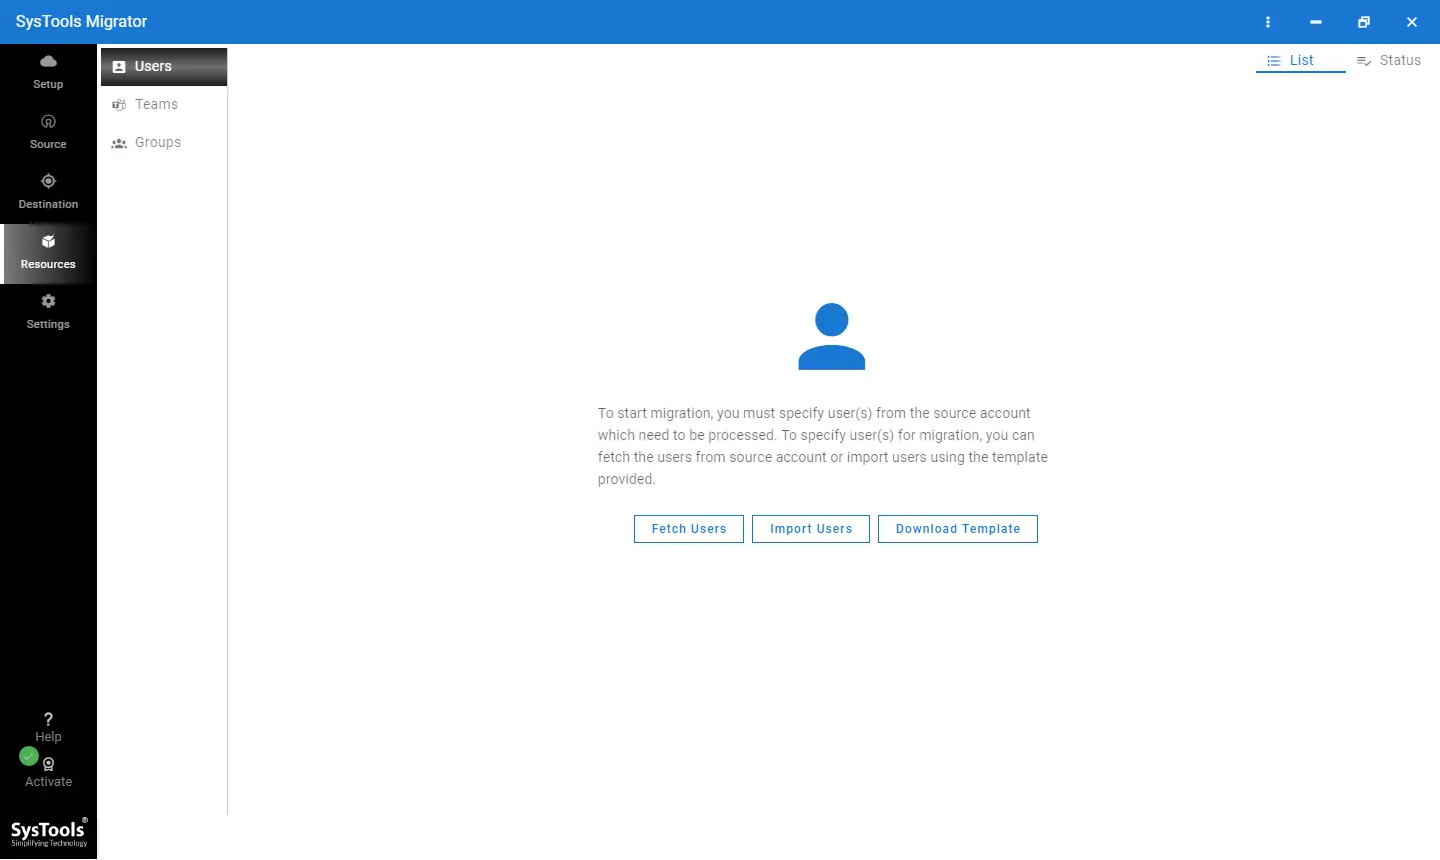
Step 4. Fetch the users into the automated tool by using the Fetch Users, Import Users, and Download template options. Validate and Map them to the destination users.
Step 6. Insert the Teams into the tool using the different options such as Fetch Teams, Import Teams, and Download Template. Validate and map the Teams to the destination Teams.
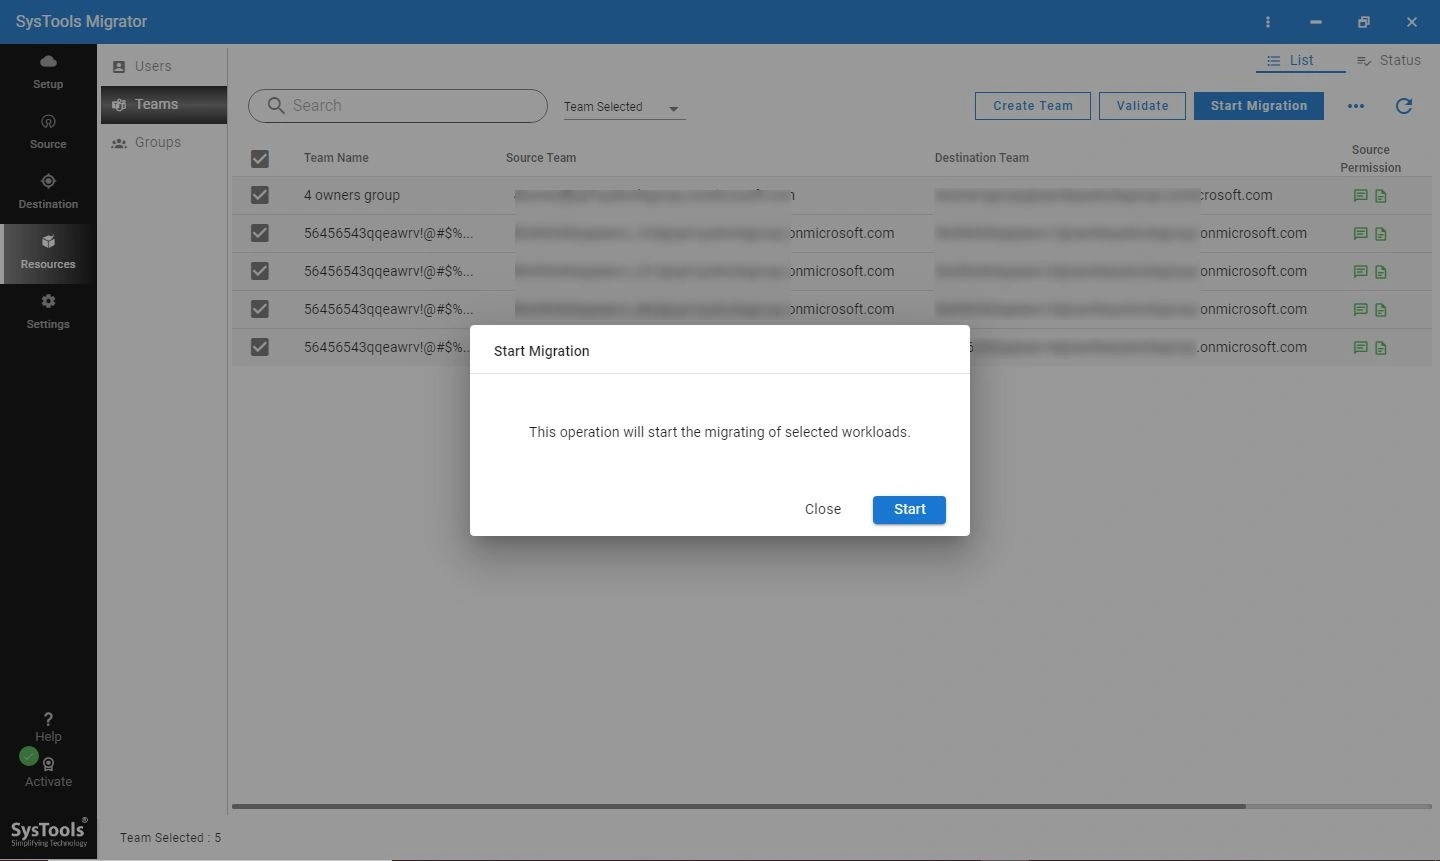
Step 7. Finally hit on the Start Migration to proceed with the task.
Bottom Lines!
Microsoft Teams is an essential application for the organization to improve collaboration. However, due to some reasons, there is a need to copy files from one channel to another. Unfortunately, users are not aware of the required steps to do so. That’s why through this write-up, we have pointed out the different methods to resolve the query on How to move files from one Teams channel to another efficiently.
Common Queries!
Q1: Can I move entire folders?
Yes, one can move entire folders using the mentioned software( Method 2), which allows users to migrate files and folders in one go while retaining their structure and permissions.
Q2: What permissions are required to move files between channels?
You need Owner or Admin permissions for both channels, Edit permissions for files, and access to the associated SharePoint site.
Q3: Are there any file size limitations to move files from one Teams channel to another?
It depends on the solution you choose, with the specified smart solution, you can migrate a large volume of data in batches simultaneously. However, it is not practical to do this manually, due to the repetitive steps.
Q4: Do file permissions remain intact when moving files?
When you migrate data within the same tenant, then file permission remains intact. However, for one tenant to another Teams site migration may reset permissions, requiring reconfiguration, if you do this manually. Therefore, it is suggested to opt for the automated solution to ensure permissions, version history, minimum time, data integrity, and metadata intact.


