Export PST File from Office 365 Admin Center Doesn’t Have To Be Hard
Why is it necessary to export PST file from Office 365 Admin Center? Read this to know how you can export mailboxes in the PST file from Office 365 admin center. Some reasons are mentioned below:
- To make sure that emails are available offline for several problems like forensic analysis of selective mail contents, for business continuity purposes, etc.
- For storing, reusing, and sharing mail components and other user data.
Steps to Export PST files from Office 365 Admin Center using eDiscovery

- Launch Office 365 Admin center by logging in to your Office 365 admin portal
- Go to the Exchange Admin center option
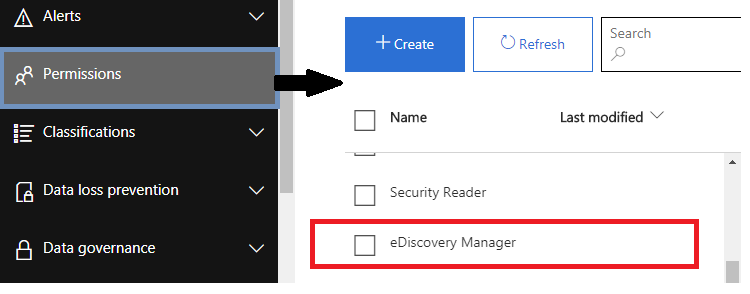
Note: For using eDiscovery management you should authorize the Discovery Management role in the Exchange admin center.
- Select Edit icon to add the important role for this Discovery Management
- First ensure that Legal Hold, Mailbox Import-Export, and Mailbox Search roles are added in the Roles by default. If it is missing, click on the ‘Add role’ button
- Add your account to the member’s list in the window and hit the OK button
- Come back to Exchange Admin center and click on Compliance Management and then select the ‘New’ button, to open the ‘In-place eDiscovery & Hold wizard, type a name and click ‘Next’
- Now, select the mailboxes for operating the search function. Select the desired mailboxes from the list
- If you want to export your Public content, there is an option to search for content in your ‘Public Folders’
- Now, there is a list of filtered options to filter mail in the mail-box
- Hit the Finish option to save your settings & to export PST file from Office 365 admin center
- The search setting will display after saving the settings so that you can initialize your further process
- You can see the search status after the process is completed
- Then you can convert the result to PST by selecting the ‘Export to a PST file’ option
Note: You have to use the latest version to run this application
- Select the desired location to save the files and hit the start button to initialize the exporting process
Disadvantages of Using eDiscovery Method
- eDiscovery did not allow you to schedule the Office 365 PST export process
- You cannot individually select a folder to export
Also Read : Create Backup of Office 365 Mail to Local Storage
Method to Export PST File from Office 365 Admin Center
Using this method one can easily perform this task. While working with the Tool we need to follow the given steps below;
Step 1. Download, install and launch the software on your computer.
Step 2. Use Office 365 Admin or User Credentials to login.

Step 3. Select the required user accounts from the list that needs to be exported.

Step 4. Choose the required mailbox items such as mails, calendars, tasks, contacts & archive mailbox.

Step 5. Define the location path to Save the exported PST files from Office 365 accounts.

Step 6. Lastly, Hit the Export button to export PST file from Office 365 Admin Center.

Smart & Handy Feature of This Software
- Export Office 365 mailboxes into 4+ file format
- Support the “Include Folder“ option to backup selected mailboxes
- Offers Delete After Download option to delete the exported data from the server
- Provide Naming Convention to make it easier for a user to arrange exported data
- Compatible with the latest version of Windows OS
- Additionally, export contacts into VCF and calendar into ICS file format
Also Read: How to Export Office 365 Contacts to VCF file format
Final Verdict
This article is all about exporting the PST file from the Office 365 Admin Center. There are many reasons why the user needs to export PST file from Office 365 admin center some of them are mentioned above. Through this article, you gain complete knowledge about both the eDiscovery and expert methods chosen accordingly.
But, in order to export PST from the Office 365 admin center using the eDiscovery method needs core technical knowledge. On the other hand, above-mentioned tool authorizes you to execute this task in a trouble-free manner.


